
How to Start Bathroom Renovation? – A Step-By-Step Guide and Checklist
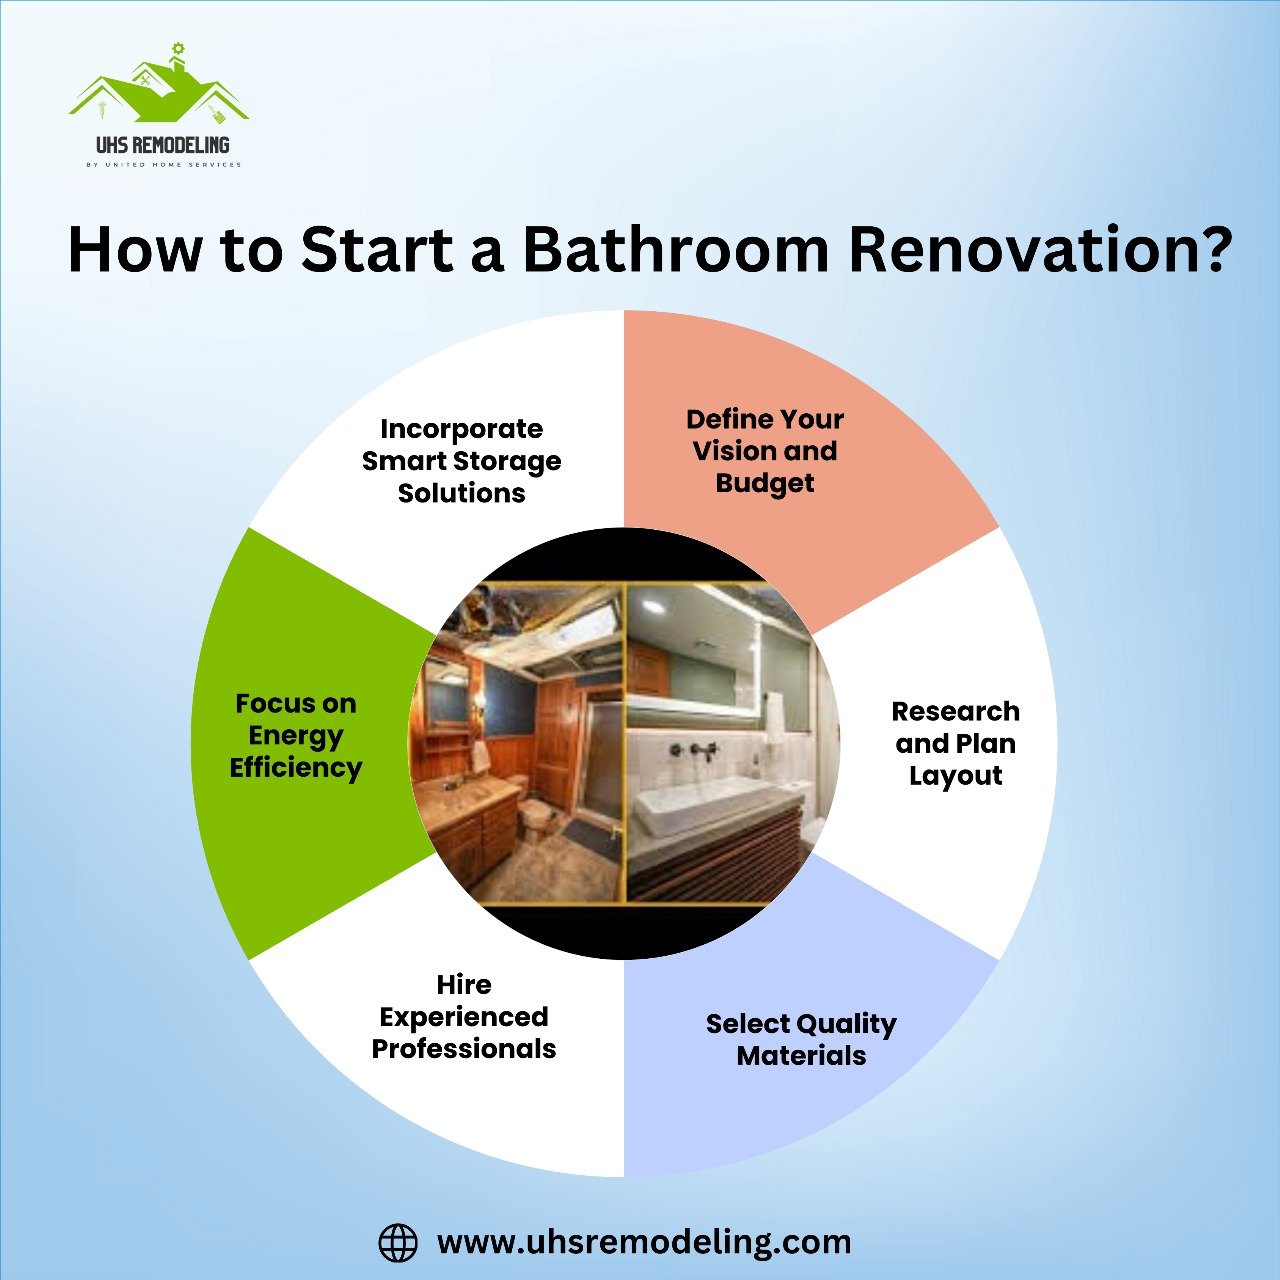
Assess the room you have, set the budget before you fall for the finishes, write one checklist, decide who builds it, and then run the six build stages in order. Nothing here is new; the order is the point.
Most bathroom renovations that go wrong go wrong before the first tile comes off the wall. The homeowner picked a vanity before measuring the door swing, or set a budget with no line for whatever is behind the drywall, or hired on price alone and found out what the price left out. This guide is a working order for the whole project, written for homeowners in Plano and across DFW: assess the room you have, set the budget first, write one checklist, decide who builds it, and then run the six build stages in sequence. The sequence is the point. Every stage covers up the one before it, so a step skipped early does not disappear, it gets tiled over.
Assess, budget, checklist, then decide who builds it. Only then demolish.
Start by measuring the bathroom you have and listing what is wrong with it. Set a budget with three lines, labor, materials and the unexpected, and expect $10,000 to $13,000 for extensive work like a new tub, tile and vanity. Then write one checklist and run the six stages in order: demolition, plumbing and electrical, structural repairs, fixtures, tile, paint.
Assess your current bathroom condition
First, look hard at the bathroom you already have. Before any plan is worth drawing, you need to understand the existing layout, the features that are staying, and the problem areas that started this conversation in the first place. The assessment is what turns a vague wish for a nicer bathroom into a renovation plan that can actually be priced and built.
- Write down every issue. Leaky faucets, poor lighting, low storage, old fixtures. Small annoyances are easy to forget once demolition starts, and they are cheapest to fix while the walls are open.
- Judge the layout honestly. Is there enough space? Are the fixtures conveniently located, or do you sidestep the vanity to reach the shower every morning? A layout that fights you now will fight you just as hard under new tile.
- Measure everything. The length, width and height of the room, and then the doors, windows and any built-in features. Door swings and window sills decide where a vanity or a tub can go, and they are the measurements people forget.
- Decide what stays. Check which parts are worth keeping, like the tub or the vanity, and then decide what gets replaced. A fixture that stays where it is means less to demolish and less to reconnect.
- Sketch it. A detailed sketch of the current room, with the measurements written on it, becomes the reference you plan the new layout against and the drawing every contractor quotes from.
I ask homeowners to sketch the room they have before they fall for a single fixture. The sketch is where you find out that the vanity you love will not clear the door, and that is a far cheaper place to find it out than install day.
Set your budget first
A realistic budget is the step people most want to skip and the one that decides whether the project stays on track. A good budget helps you manage costs, avoid surprises and keep the renovation moving when something unplanned shows up, which it will. Build it from three lines:
- Labor. If you hire professionals, labor costs will be a significant part of the budget. Get quotes from multiple contractors so you can compare prices on the same scope, not just compare bottom lines that describe different jobs.
- Materials. Tiles, fixtures, paint and everything else the room is made of. Prices differ according to quality and brand, so decide where the money matters to you before you start shopping.
- The unexpected. Always plan for it. Structural issues, plumbing problems and electrical upgrades surface during a renovation, not before it, and they are the reason a budget with no cushion turns into a stalled project.
For scale: expect to spend $10,000 to $13,000 on extensive work that includes replacing the bathtub, tiling and installing a new vanity. Treat that as a planning frame rather than a quote, because scope, finish level and the condition of what is behind the walls all move it. For a fuller picture of what bathrooms cost across the metro, see the 2026 DFW bathroom remodeling cost guide, and for what a full-service project includes, see our bathroom remodeling service in Plano.
Set the number before you fall in love with the finishes. A budget that arrives after the tile selection is not a budget, it is a receipt.
Not sure which of these applies to your house? A short conversation settles it faster than any calculator.
How to start a bathroom renovation: the planning checklist
Effective planning and thoughtful design are what separate a renovation you run from a renovation that runs you. Build one comprehensive bathroom renovation checklist and keep it current. Here is how to approach it, in the order that keeps later decisions from undoing earlier ones.
Create the checklist
Start with a list of must-have features, such as the shower or a bathtub, and a separate list of nice-to-have elements you would trade away if the budget tightens. Then make a timeline for each phase of the renovation. Consider the delays that could hit each phase and build in extra time for unexpected issues, because a schedule with no slack breaks on the first back-ordered faucet. Keep track of all tasks, deadlines and materials in one place: an Excel bathroom renovation checklist works, and so does a project-management app. What matters is that there is one list and everyone working on the bathroom reads the same one.
If you plan to stay in the house during the work, the practical side of that is its own subject. See Bathroom Renovation While Living In House for how to manage the disruption day to day.
Decide on a layout and design
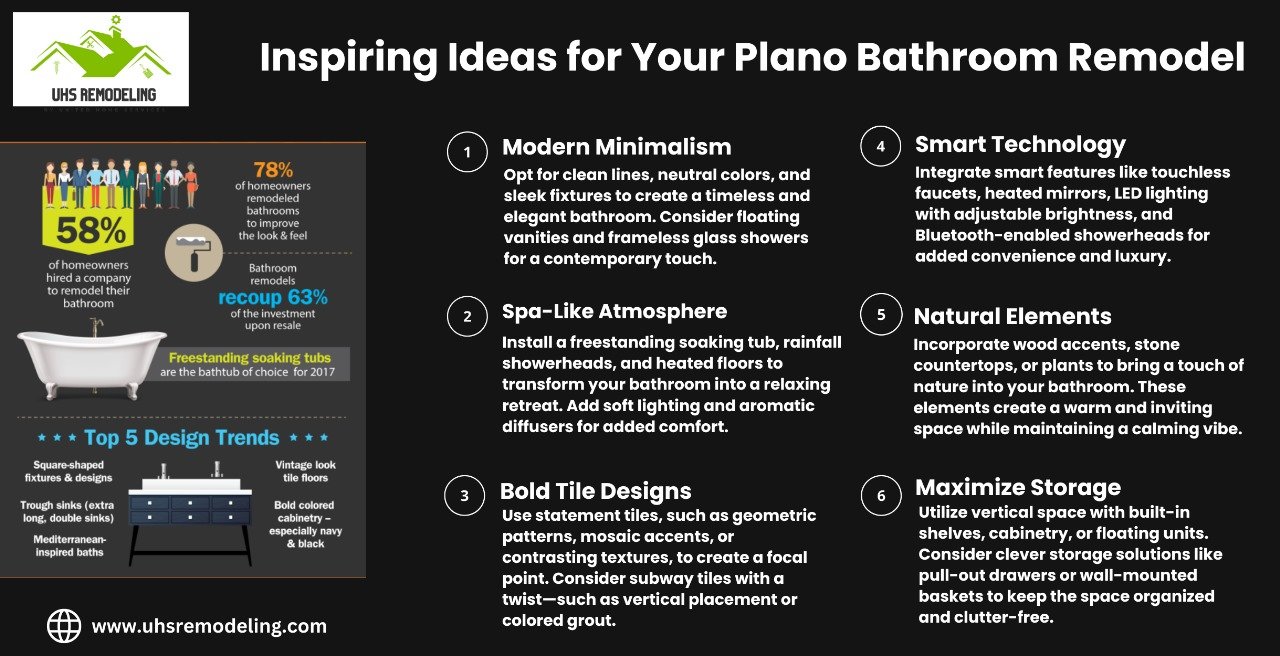
Choose a design style that suits your taste and matches the rest of the home. Popular styles include modern, traditional, rustic and minimalist, and each carries its own fixtures and finishes. Whatever the style, the design must include the practical elements: adequate storage, proper lighting and efficient use of the space you measured in the assessment. A beautiful bathroom with nowhere to put a towel is a design failure, not a design. For creative and current concepts, browse Inspiring Ideas for Your Plano Bathroom Remodel.
Select fixtures and materials
Select durable, high-quality fixtures for longevity and performance. That covers toilets, sinks, faucets, showers and bathtubs, the pieces that get used every day and are expensive to swap once the tile is in. Consider eco-friendly fixtures as well: low-flow toilets and water-saving showerheads save water and cut utility bills for as long as you own the home. For shower upgrades that are stylish and sustainable at the same time, see Shower Ideas For Your Bathroom Remodel. And make sure the fixtures and materials you choose complement the overall design style and color scheme, rather than collecting one attractive item at a time and hoping they agree.
Plan the storage and the ventilation
Use cabinets, shelves and vanities for bathroom storage; they are what keep the finished room organized after the novelty wears off. Ventilation is the less glamorous twin of storage and the more important one. Proper ventilation is what prevents mold and mildew growth, and if the room does not have it, installing an exhaust fan belongs on the checklist rather than on the list of things you meant to add. If you are upgrading other parts of the home at the same time, UHS also offers home remodeling in Highland Park for full-service work that matches the bathroom design.
Hire a professional or do it yourself?
One of the critical decisions is whether to hire professionals or go the DIY route, and it is worth deciding before the checklist gets long, because the answer changes what the checklist has to contain.
Hiring professionals brings expertise and experience that carry through to the result. A remodeler like UHS Remodeling brings specialized knowledge of how bathrooms go together, which is what cuts renovation time: a crew that has sequenced plumbing, tile and fixtures before does not stall working out the order. Professionals also work efficiently and handle the surprises, which matters most in the plumbing and structural stages, where a surprise is the norm rather than the exception. If you want to see what that looks like on a real scope, our Plano bathroom remodeling page walks through the service.
Doing it yourself saves on labor costs, and labor can be a large part of the renovation budget, so the appeal is real. It also requires skill, time and patience, and the results might not match a professional’s. The honest test is the second build stage, plumbing and electrical: if you would hire that out anyway, you are already running a hybrid project, and coordinating the trades you hire around the work you do yourself is a job of its own.

The step-by-step renovation guide
Renovating a bathroom involves multiple stages, and the order is not negotiable, because each stage covers up the one before it and a mistake left in place gets built over. Here is the complete sequence, from the first swing to the last bead of caulk.
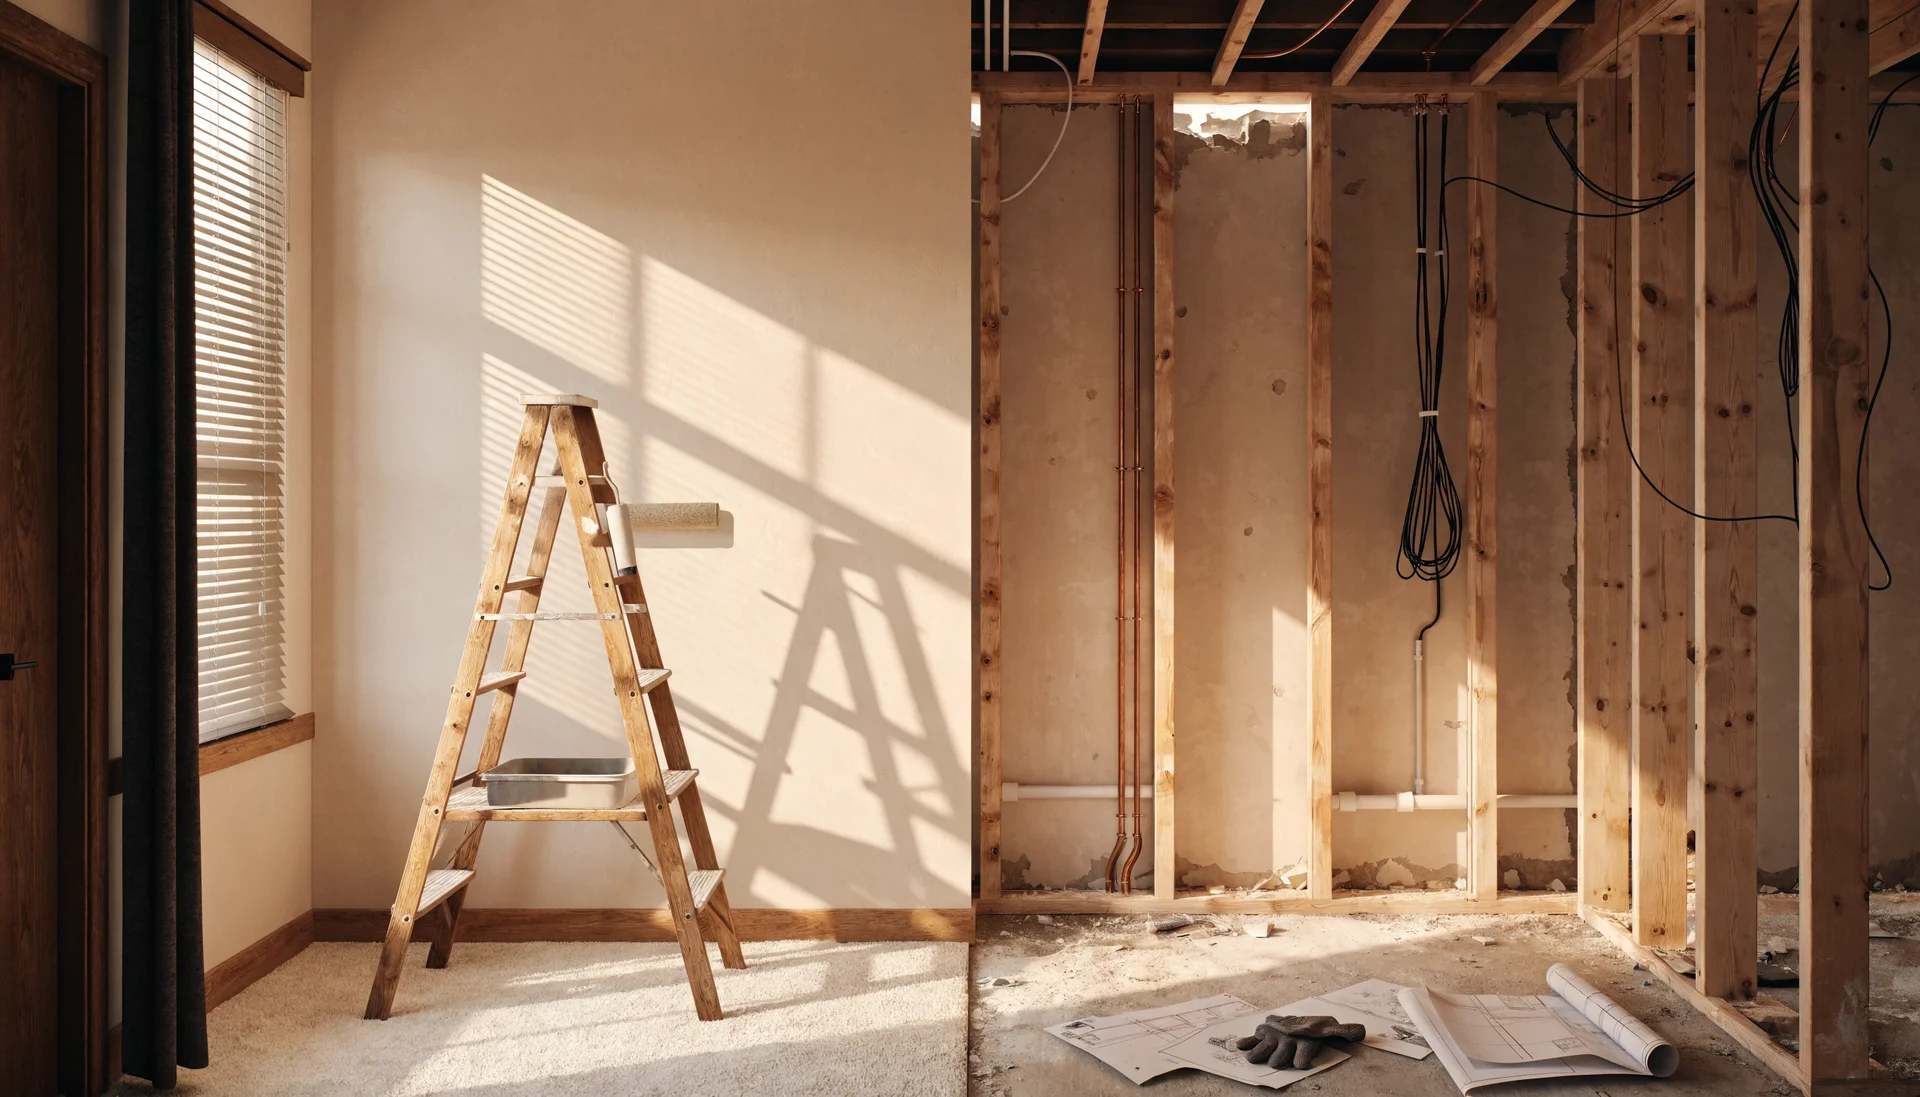
Stage 1: Demolition and disposal
Remove the existing fixtures and materials: the sink, the toilet, the bathtub, the cabinets. Turn off the water supply and disconnect any electrical components before the first swing. Plan the disposal as well; renting a dumpster or hiring a disposal service keeps the old bathroom from piling up in your driveway.
Stage 2: Plumbing and electrical work
With the space cleared, the plumbing and electrical work goes in. This is the critical phase, and the one to bring in plumbing and electrical pros who work to code. Replace old pipes, install the new plumbing where the layout needs it, and upgrade the wiring for modern fixtures and appliances.
Stage 3: Structural repairs
Inspect the opened-up space for structural issues before anything new goes in. Rotten wood, mold and uneven floors get addressed now; the walls get reinforced and the subfloor gets levelled for the new installs. This is the preparation that gives everything after it a solid foundation, and nothing in it will be visible when the room is done.
Stage 4: Install the new fixtures
With the structure sound, installation starts with the larger items, the bathtub or the shower, then the toilet and the sink. Each fixture is checked for a proper install and fastened securely; a vanity that rocks on install day rocks forever.
Stage 5: Install the tile
Tiling and flooring are the visible core of the renovation. Choose durable, water-resistant materials that complement the design, and set them in order: the walls first, then the floor.
Stage 6: Paint and finishing touches
A fresh coat of moisture-resistant paint on the walls and ceiling, then the details: trim, molding and caulking. These are the small items that give the room its polished look, and they are the ones a rushed schedule skips.
Two things about this sequence. The walls-then-floor order in the tile stage exists so the finished floor is not worked over while the walls go up above it. And the structural stage is the one homeowners most want to skip, because nothing in it shows in the finished room. It is also the stage that decides whether the finished room stays finished.
Tell us what you are planning. We will walk your house, tell you what is actually possible, and put a real number on it before you commit to anything.
Or read the numbers first: bathroom remodeling service in Plano.
Where first-time renovations go wrong
Most of the expensive mistakes in a bathroom renovation are not craft failures. They are steps taken out of order, or skipped. The same ones repeat:
Skipping the assessment
Without the measurements and the sketch, the layout gets designed around a fixture instead of the room, and the fix arrives as a change order after the vanity is already on site.
Budgeting with no line for the unexpected
Structural issues, plumbing problems and electrical upgrades show up once the walls are open. A budget that spent every dollar on finishes has nothing left for the stage that cannot be skipped.
Ignoring ventilation
A bathroom without proper ventilation grows mold and mildew behind the new finishes. Put the exhaust fan on the checklist with the tile, not on the list of things to sort out later.
Demolishing with the water and power still live
Turn off the water supply and disconnect the electrical components before demolition starts. The alternative is a flooded subfloor, or worse, on the first day of the project.
Tiling over structural problems
Rotten wood, mold and an uneven floor do not go away under new tile; they come back through it. Reinforce the walls and level the subfloor before the first tile is set.
Choosing DIY for the labor savings alone
The savings are real, but so are the skill, time and patience the work demands, and a result that does not match a professional’s is the one you look at every morning.
Ready to start? Here is what we handle
A bathroom renovation done in this order improves the home and produces a room that reflects your style and meets your needs. Plan carefully, follow the sequence, and the project stops being a leap and becomes a checklist you can watch get shorter.
If you would rather hand the sequence to a team that runs it for a living, UHS Remodeling handles bathroom renovation from planning and design through execution, and tailors the scope to what your bathroom needs rather than to a package. We are based in Plano and work across Plano, Frisco, Allen, Dallas, Highland Park and Prosper, plus 9 more DFW cities. When you are ready, reach out and start your bathroom renovation with the assessment, not the demolition.
Questions we get
What should I assess before starting a bathroom renovation?
Assess your bathroom’s condition by noting issues like leaks, poor lighting, and low storage. Measure dimensions, and evaluate the layout. Decide which fixtures to keep or replace, and create a detailed sketch.
How do I set a realistic budget for a bathroom renovation?
Set a budget by estimating labor costs, material costs for tiles and fixtures, and planning for unexpected expenses. Typically, expect to spend between $10,000 and $13,000 for extensive renovations.
What should be included in a bathroom renovation checklist?
Include must-have features, a timeline for each renovation phase, and a list of tasks and materials. Choose a design style, select fixtures, and ensure practical elements like storage and ventilation are covered.
Should I hire professionals or do the renovation myself?
Hiring professionals offers expertise and efficiency, ensuring high-quality results. DIY can save on labor costs but requires skill and patience. Choose based on your budget, skill level, and available time.
What are the main steps in a bathroom renovation process?
The main steps are: 1) Demolition and disposal of old fixtures. 2) Plumbing and electrical work. 3) Structural repairs. 4) Installing new fixtures. 5) Tiling and flooring. 6) Painting and finishing touches.
What do I need to do before demolition starts?
Turn off the water supply and disconnect any electrical components before removing the sink, toilet, bathtub or cabinets. Plan the disposal of the old materials as well, either by renting a dumpster or hiring a disposal service. Demolition is the first of the six stages, and the plumbing and electrical work follows once the space is cleared.
In what order should a bathroom be tiled and painted?
In this sequence the tile goes on after the fixtures are installed: the walls first, then the floor, using durable, water-resistant materials that complement the design. Painting comes last, with a moisture-resistant paint on the walls and ceiling, followed by trim, molding and caulking. Those finishing details are what give the room its polished look.
Measure first, budget second, checklist third, and only then decide whether you or a professional runs the six stages. The stages cover each other up, so a step skipped early gets tiled over and comes back through the grout. Plan carefully and the renovation stays a list that gets shorter.
Related from the journal

Start with the assessment, not the demolition we will bring the checklist.
Fully insured · 500+ client reviews · fixed-price contracts · 1-year workmanship warranty.
Prefer to talk? (469) 850-7087 · or use the contact page.