
Tools for Wood Flooring Installation | Complete Checklist for Professional Results
Gaps, squeaks and cracked planks usually trace back to a missing tool, not to the wood. Here is every tool a wood floor needs, stage by stage, and which ones a DIY homeowner should rent rather than buy.
Wood flooring rarely fails because of the wood. It fails because of the tool that was missing when the boards went down. Gaps, uneven boards, squeaks, cracked planks and early wear are often caused not by the flooring itself but by missing or incorrect tools and poor preparation, especially on larger home renovation projects where the floor is only one part of the process. Even the best wood flooring materials can fail when they are installed with the wrong saw, no reference line and no moisture reading.
Five categories of tools, and the floor shows wherever one was skipped.
Wood flooring needs measuring and layout tools, subfloor inspection and preparation tools, cutting tools, installation and fastening tools, and finishing and safety tools. The subfloor has to be clean, dry and level first, the moisture meter is the check Texas homes cannot skip, and a DIY installer can rent the flooring nailer and the saws instead of buying them.
This guide covers every tool for wood flooring installation, from the tape measure to professional-grade fastening equipment. It works for a DIY homeowner on a first flooring project and for a contractor who wants consistent results. The checklist shows which tools are essential, which are optional, and what each one contributes to a clean, durable floor that still looks right years from now.
Why the tools decide the finish
Wood flooring installation is not a one-tool job. It moves through several stages, and each stage needs its own equipment to hold accuracy, stability and long-term performance. Skip a tool or substitute a poor one at any stage and the defect tends to surface later, when it is difficult to fix.
Measuring and layout
Room dimensions, straight reference lines and the position of the first row. Everything downstream is aligned to what happens here.
Subfloor preparation
Reading moisture, stripping old material and correcting low or high spots so the new boards sit flat and fasten properly.
Cutting boards
Shaping planks to fit walls, corners, vents and doorways with clean edges.
Fastening or adhering planks
Driving fasteners through the tongue of the board, or spreading adhesive, depending on the type of wood flooring.
Spacing for expansion
Holding the correct gap at walls and fixed objects so the floor can move with temperature and humidity without buckling.
Finishing
Trim, baseboards, sanding where the floor needs it, and filling nail holes so the whole surface reads as one.
The tools themselves fall into five categories: measuring and layout tools, subfloor inspection and preparation tools, cutting tools, installation and fastening tools, and finishing and safety tools. Knowing what each category is for prevents costly mistakes and wasted time. It matters even more when the flooring is installed alongside broader home remodeling ideas, because an uneven floor or a loose board becomes one more problem the rest of the project has to work around.
Uneven floors, loose boards and visible defects are hard to fix once the floor is down. Every tool on this list exists to stop one of them before it happens.
Measuring and layout tools
Accurate measurement and layout are the foundation of the installation. Poor layout planning produces crooked rows, awkward cuts near the walls, or uneven spacing that affects the entire floor, and none of it can be corrected after the boards are fastened.
Tape measure
A high-quality tape measure is in your hand constantly during a flooring installation. It measures room dimensions, board lengths, expansion gaps and cut marks. Precision matters most when you plan the starting row and the transitions between rooms, because an error there repeats in every row that follows.
Chalk line
A chalk line marks straight reference lines across the floor. Those lines guide the placement of the first row of boards, and the first row sets the alignment of the entire installation. Without the line you are aligning to a wall, and the wall itself may not be straight.
Carpenter square
A carpenter square keeps corners and cuts square. It matters most around doorways, cabinets and walls that are not perfectly straight, a common challenge in older homes and in full house renovation projects.
Laser level or long level
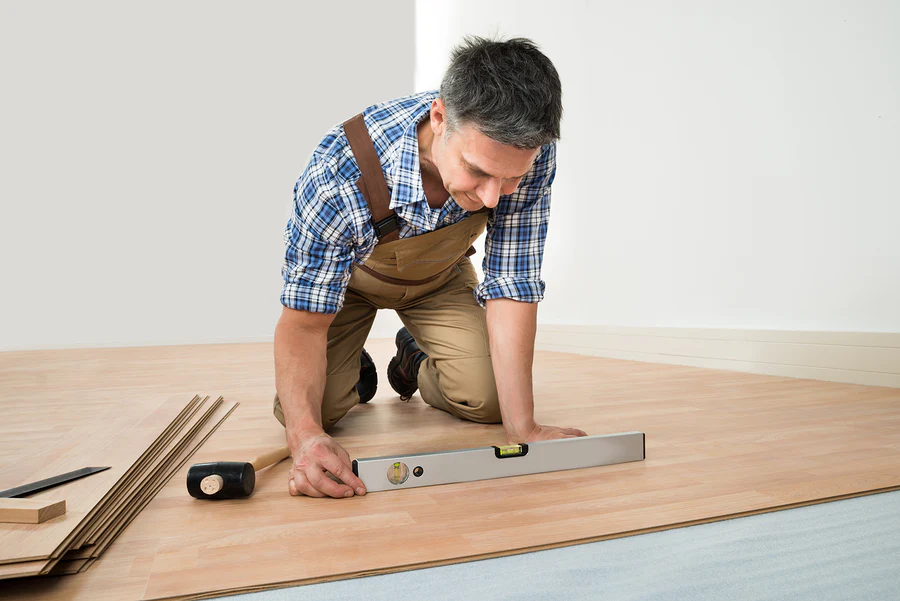
A laser level or a long bubble level finds the uneven areas in the subfloor before the flooring hides them. Identifying low and high spots early prevents movement, squeaks and long-term damage to the wood flooring.
Subfloor inspection and preparation tools
The subfloor must be clean, dry and level before any wood flooring goes down. Ignore that step and the boards shift, crack or separate over time, however well they were cut and fastened.
Moisture meter
A moisture meter reads the moisture content of both the subfloor and the wood flooring itself. It is the inspection step that cannot be skipped, because excessive moisture leads to warping, cupping or buckling after installation, especially in Texas homes, where climate conditions matter.
I will not let a crew open the first box of flooring until the moisture meter has been on the subfloor and on the boards themselves. Texas humidity does not care how good the wood is, and a floor that cups a season later is a floor we installed too soon.
Pry bar and scraper
These strip old flooring materials, staples, nails and adhesive residue off the subfloor. A clean surface lets the new flooring sit flat and fasten securely.
Floor leveling tools
Some subfloors need floor patch compounds or leveling tools to correct uneven areas. A flat surface gives every board consistent contact and proper fastening, and that consistency is what long-term durability actually rests on.
Not sure which of these applies to your house? A short conversation settles it faster than any calculator.
Cutting tools
Cutting tools shape the flooring boards to fit walls, corners and obstacles. Clean, accurate cuts are what a professional appearance is made of; the edges are where anyone looking at the floor will find the mistakes.
Manual cutting tools
Manual tools are for the detailed or small cuts:
- Hand saw: quick cuts and tight spaces.
- Jigsaw: curved cuts around vents, pipes and irregular shapes.
- Utility knife: underlayment and minor trimming.
They give you flexibility, but they are slower than power tools, and on a full floor the difference adds up.
Power cutting tools
Power tools are the backbone of an efficient wood flooring installation:
- Miter saw: straight, angled and crosscuts; essential for clean edges.
- Circular saw: ripping boards to width.
- Table saw: high precision on long, straight cuts.
- Flooring saw: designed specifically for repetitive flooring cuts.
Power saws improve speed, consistency and accuracy, which makes them indispensable on medium to large projects, and especially when the flooring goes in as part of a kitchen renovation or open-concept remodel, where the saw work has to keep pace with the trades around it.
Installation, fastening and alignment tools
Securing wood flooring properly prevents movement, squeaks and gaps. The fastening method depends on the type of wood flooring being installed, so the tools depend on it too.
Flooring nailer or stapler
A flooring nailer or stapler drives each fastener at the correct angle and depth through the tongue of the board. That is what holds the boards tight without damaging the surface you will walk on.
Rubber mallet
A rubber mallet engages the flooring nailer and gently taps boards into place without denting or scratching the wood.
Adhesive and notched trowel
Engineered wood and certain hardwood floors are glue-down installations rather than nailed ones. A notched trowel spreads the adhesive evenly, which is what gives a proper bond and a stable floor.
Drill and fasteners
A drill is needed for pilot holes, the starter rows and the finishing rows where a nailer cannot fit. The right fasteners in those rows are what give them long-term holding power.
Expansion spacers, tapping block and pull bar
Wood flooring naturally expands and contracts with temperature and humidity changes, so proper spacing is critical to avoid buckling. Spacers hold the correct expansion gap along walls and fixed objects, and the baseboards or trim cover that gap later. A tapping block tightens boards together without damaging the tongue or groove edges. A pull bar does the same job at the walls, where there is no room to use a tapping block.
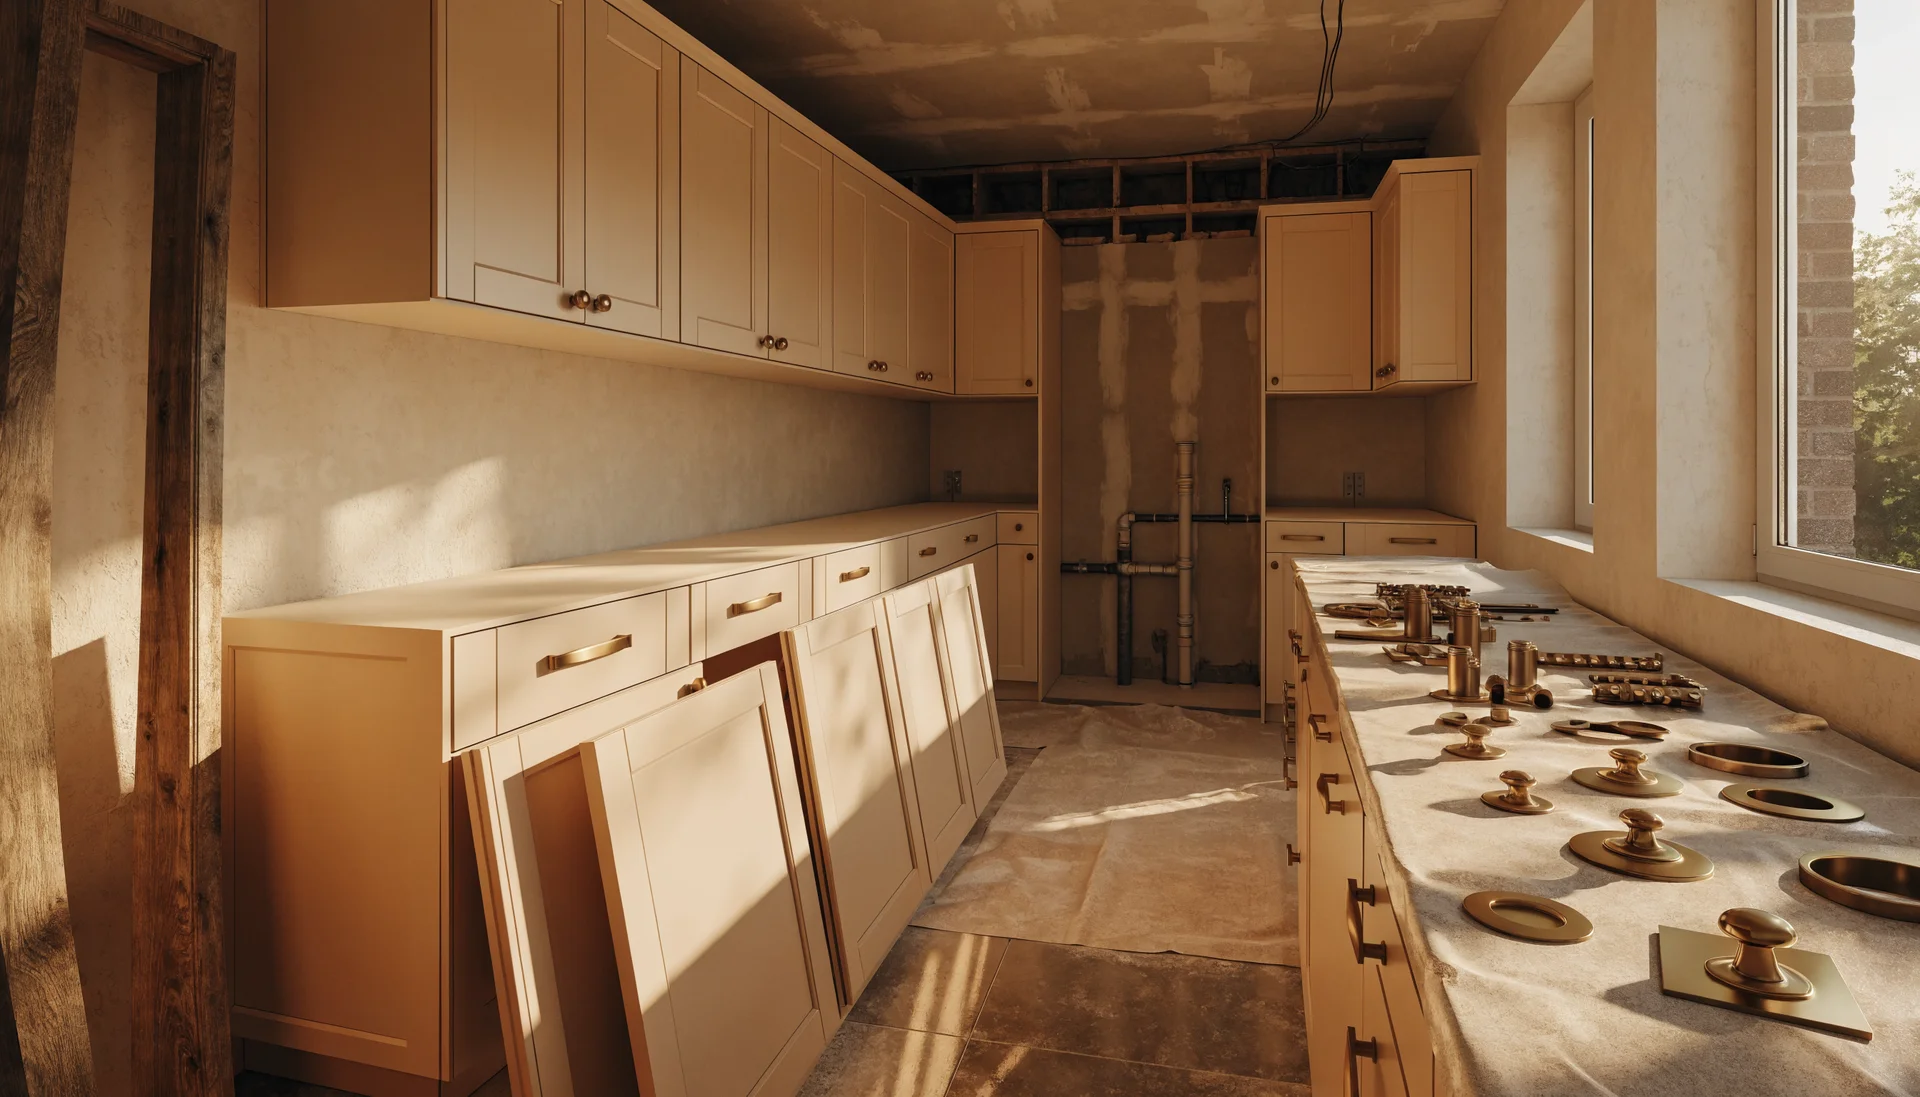
Finishing tools
Finishing tools bring the installation together and give the floor its polished appearance. They are the last tools used and the ones whose results the homeowner sees first.
Finish nailer
A finish nailer secures trim, baseboards and moldings cleanly and quickly.
Coping saw
A coping saw shapes trim pieces for smooth joints, especially in corners.
Floor sander and edge sander
Sanding tools are for unfinished hardwood floors or for minor surface corrections. They produce the smooth, even surface the floor needs before staining or sealing.
Putty knife and wood filler
These fill nail holes and small imperfections, so the finished floor reads as one uniform surface.
The complete checklist, plus the safety gear
Before the first board comes out of the box, run this list. Each entry names the category, the tool and what it is for.
- Measuring: tape measure, for accurate room and board sizing.
- Layout: chalk line, for straight reference lines.
- Inspection: moisture meter, to prevent moisture-related damage.
- Cutting: miter saw, for clean, precise cuts.
- Cutting: circular or table saw, for rip and straight cuts.
- Installation: flooring nailer, to secure boards properly.
- Alignment: spacers, for expansion gaps.
- Alignment: tapping block, for tight board joints.
- Finishing: finish nailer, for trim and molding installation.
- Safety: goggles and mask, for personal protection.
This checklist keeps a project from stalling on a missing tool and gets professional-level results, on your own or with home renovation contractors in Plano.
Safety tools you should never skip
Flooring installation involves sharp blades, heavy tools and airborne dust. Safety equipment protects you and improves efficiency:
- Safety glasses
- Dust mask or respirator
- Hearing protection
- Work gloves
- Knee pads
Using safety gear reduces injury risk and fatigue, especially during long installations, and fatigue is where the careless cuts come from.
Tell us what you are planning. We will walk your house, tell you what is actually possible, and put a real number on it before you commit to anything.
Or read the numbers first: Plano home remodeling.
Rent or buy: the DIY and professional approach
Not every tool on this list needs to be purchased. Many homeowners choose to rent the specialized tools and buy only the basics.
The DIY approach
DIY installers usually buy the basic tools and rent the larger equipment, like flooring nailers or saws. That keeps the cost down while still producing good results on a single project.
The professional approach
Professionals invest in high-quality, durable tools designed for speed, accuracy and repeated use. Those tools give consistency across large projects. Understanding your project scope is what decides whether renting or buying is the better option, and it decides something else too: whether the floor belongs in your hands or with a crew that already invests in these tools and installs floors as one part of a home remodel in Plano.

Mistakes the wrong tools cause
Many flooring problems trace back to tool-related errors, and the same ones keep showing up:
Uneven rows
Poor measuring tools put the first row off, and every row after it follows the error.
Chipped boards
Incorrect saw blades chip the board edges, and every chipped edge shows once the floor is finished.
Loose planks
Improper fastening tools leave fasteners at the wrong depth or angle, and the boards move, squeak and open up.
Buckling floors
Missing expansion spacers leave the wood no room to move, and the floor lifts when humidity rises.
Using the right tools from the start saves time, money and frustration. Installing wood flooring is a detailed process that rewards preparation: the correct tools give you accurate cuts, secure fastening, proper spacing and a polished finish that lasts for years. That holds for a DIY project and for a full remodel with a trusted flooring contractor in DFW, so build the tool checklist before you start, not after the first row is down.
When you invest in the right tools, or rent professional-grade equipment, you take the guesswork out of the job and reduce the risk of costly mistakes. And when the floor is one piece of a larger project, the same logic scales up. Proper planning, safety practices and the right equipment are what a Plano home remodeling crew brings to every room in the house, not only the one getting new wood, and it is the reason the finished floor delivers the professional result you expect.
Questions we get
What tools are absolutely required for wood flooring installation?
Every installation needs tools for layout, cutting boards accurately, securing planks, and finishing edges. The exact tools depend on flooring type and installation method.
Can I install wood flooring without a flooring nailer?
A flooring nailer ensures correct fastener depth and angle, reducing movement and squeaks over time.
Which saw is best for cutting wood flooring?
Miter and table saws offer the precision required for professional-quality installations, especially for long and angled cuts.
Do engineered and solid wood floors use the same tools?
Engineered wood may require adhesive tools, while solid hardwood typically relies more on nailers or staples.
Should I rent or buy wood flooring installation tools?
Renting professional tools reduces cost while still delivering high-quality results for homeowners.
Why does the subfloor need a moisture meter before wood flooring goes down?
A moisture meter reads the moisture content of both the subfloor and the wood flooring. Excessive moisture leads to warping, cupping or buckling after installation, especially in Texas homes, where climate conditions matter. The subfloor also has to be clean, dry and level before any board is fastened.
What safety gear do I need to install wood flooring?
Safety glasses, a dust mask or respirator, hearing protection, work gloves and knee pads. Flooring installation involves sharp blades, heavy tools and airborne dust, and safety gear reduces both injury risk and fatigue during a long installation.
Build the checklist before you start. Measure and snap the lines, meter the subfloor, cut with the right saw, fasten through the tongue, hold the expansion gap, then finish the trim. The common flooring defects on this page trace back to skipping one of those tools.
Related from the journal


Talk through the floor before the first board goes down and the rooms around it.
Fully insured · 500+ client reviews · fixed-price contracts · 1-year workmanship warranty.
Prefer to talk? (469) 850-7087 · or use the contact page.