
The Complete Curbless Walk-In Shower Guide: Wet Rooms, Drains & Costs for DFW Bathrooms
The technical guide behind the design photos: how curbless showers are really built, waterproofed, and priced in Dallas-Fort Worth bathrooms.
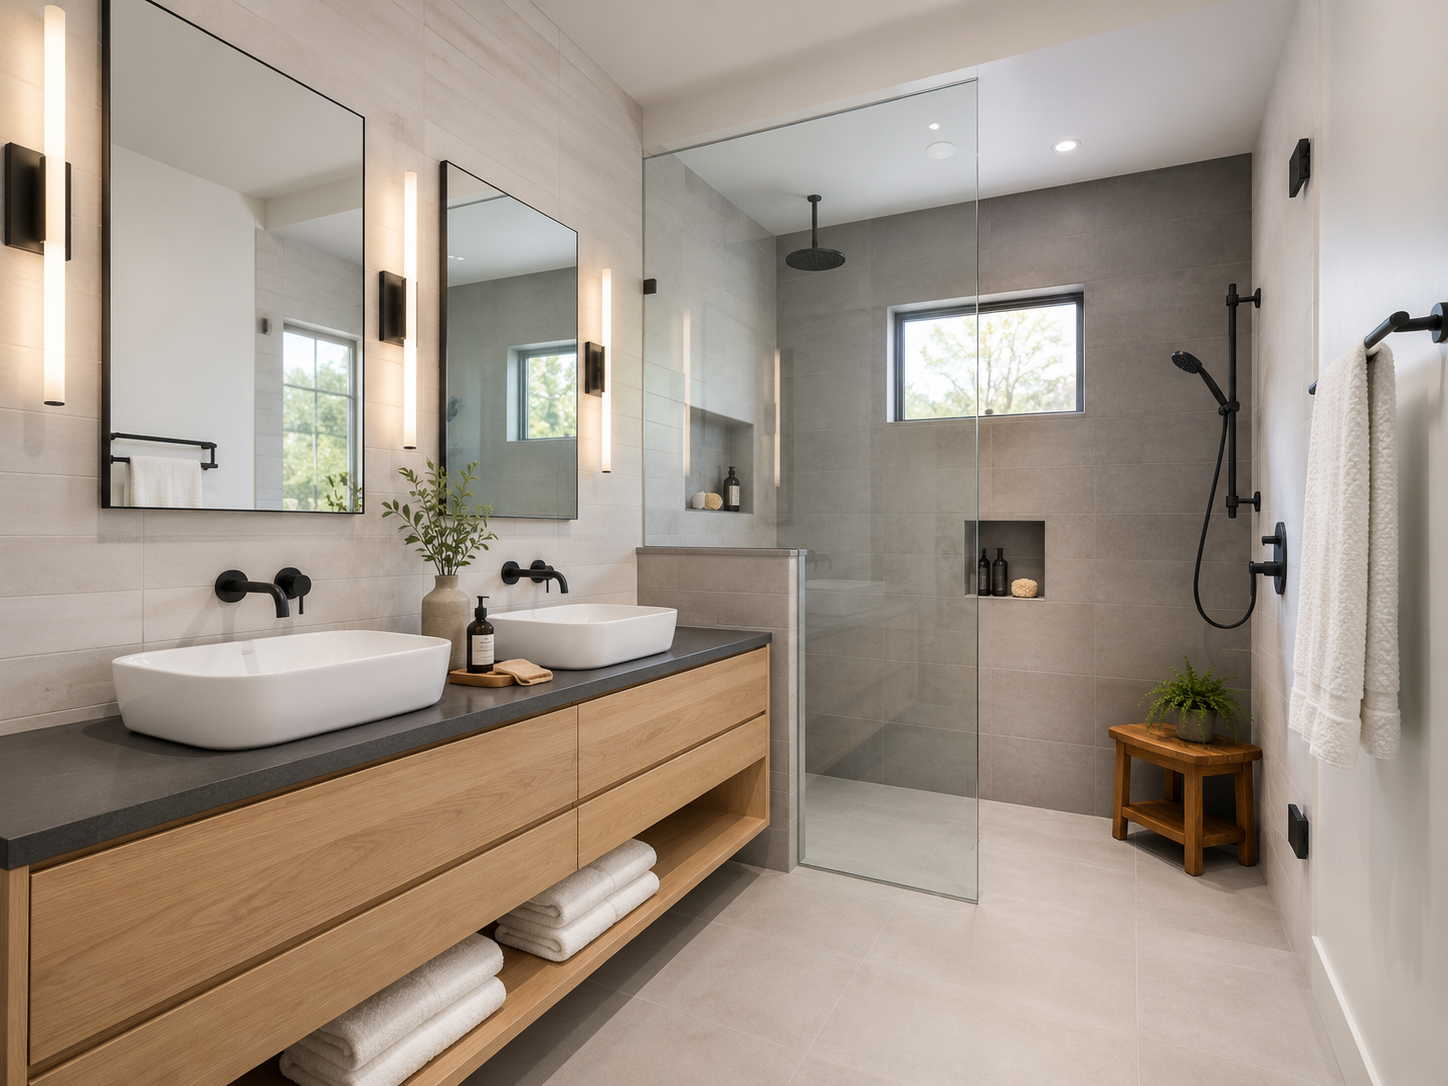
A curbless walk-in shower removes the step-over threshold so the bathroom floor runs straight into the shower on one level. In DFW, it costs more than a standard curbed shower because the pan has to be recessed or sloped into the floor and waterproofed to a higher standard. Done right, it looks clean and open and works for aging in place.
The Short Answer on Curbless Showers
A curbless (zero-threshold) walk-in shower has no curb, so water drains through a sloped floor instead of over a raised lip. Two technical decisions drive the project: the drain (a linear/trough drain lets you slope the floor in one direction with large-format tile; a point drain needs a four-way slope and smaller tiles) and the waterproofing system (typically a Schluter sheet membrane or a RedGard liquid membrane over a correctly sloped substrate). Curbless costs more than a curbed shower because the framing, slope, and waterproofing are more involved, and most DFW slab-foundation homes require recessing the pan. As a bonus, a true zero-threshold shower doubles as accessible, aging-in-place design.
§ 01What is a curbless walk-in shower, and how is it different from a wet room?
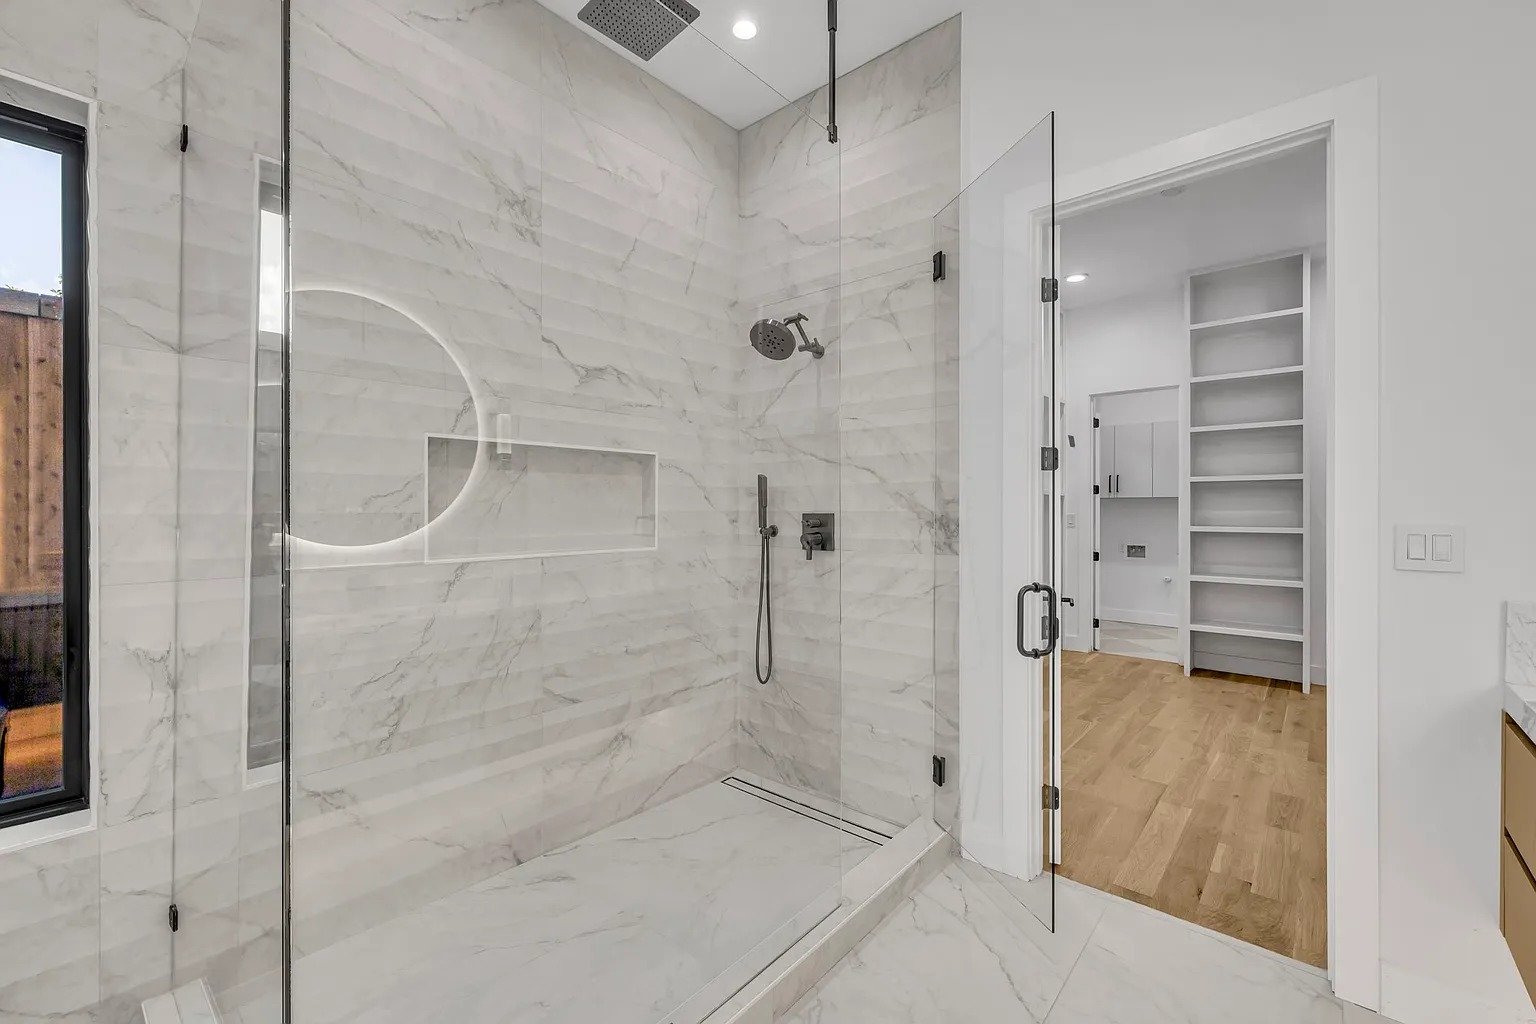
A curbless walk-in shower (also called a zero-threshold or barrier-free shower) removes the raised curb you normally step over. Instead of a lip holding water in, the entire shower floor is gently sloped toward a drain so water runs away on its own. The shower floor sits flush with the bathroom floor, and that continuous, uninterrupted tile is what gives these bathrooms their clean, open look.
A wet room takes the idea further: the whole bathroom is waterproofed and tiled as one water-tolerant zone, often with no glass enclosure at all, and the shower simply occupies a corner of a fully sealed room. Wet rooms are dramatic and easy to clean, but in DFW we usually recommend at least a partial glass panel to keep spray off the vanity and toilet. If you are still gathering inspiration, our roundup of 15 brilliant shower remodel ideas shows how curbless layouts read in real rooms.
§ 02Linear drain vs. point drain: which one should you choose?
The drain is the first decision, because it dictates almost everything else: tile size, slope direction, and cost.
| Feature | Linear (trough) drain | Point (center) drain |
|---|---|---|
| Floor slope | Single plane, one direction | Four planes sloping to center |
| Tile size | Large-format / slabs work great | Smaller mosaic tile (flexes to the slope) |
| Best placement | Against the back wall or at the entry | Center of the shower floor |
| Look | Modern, minimal, clean-lined | Traditional, lower material cost |
| Relative cost | Higher (drain hardware + framing) | Lower |
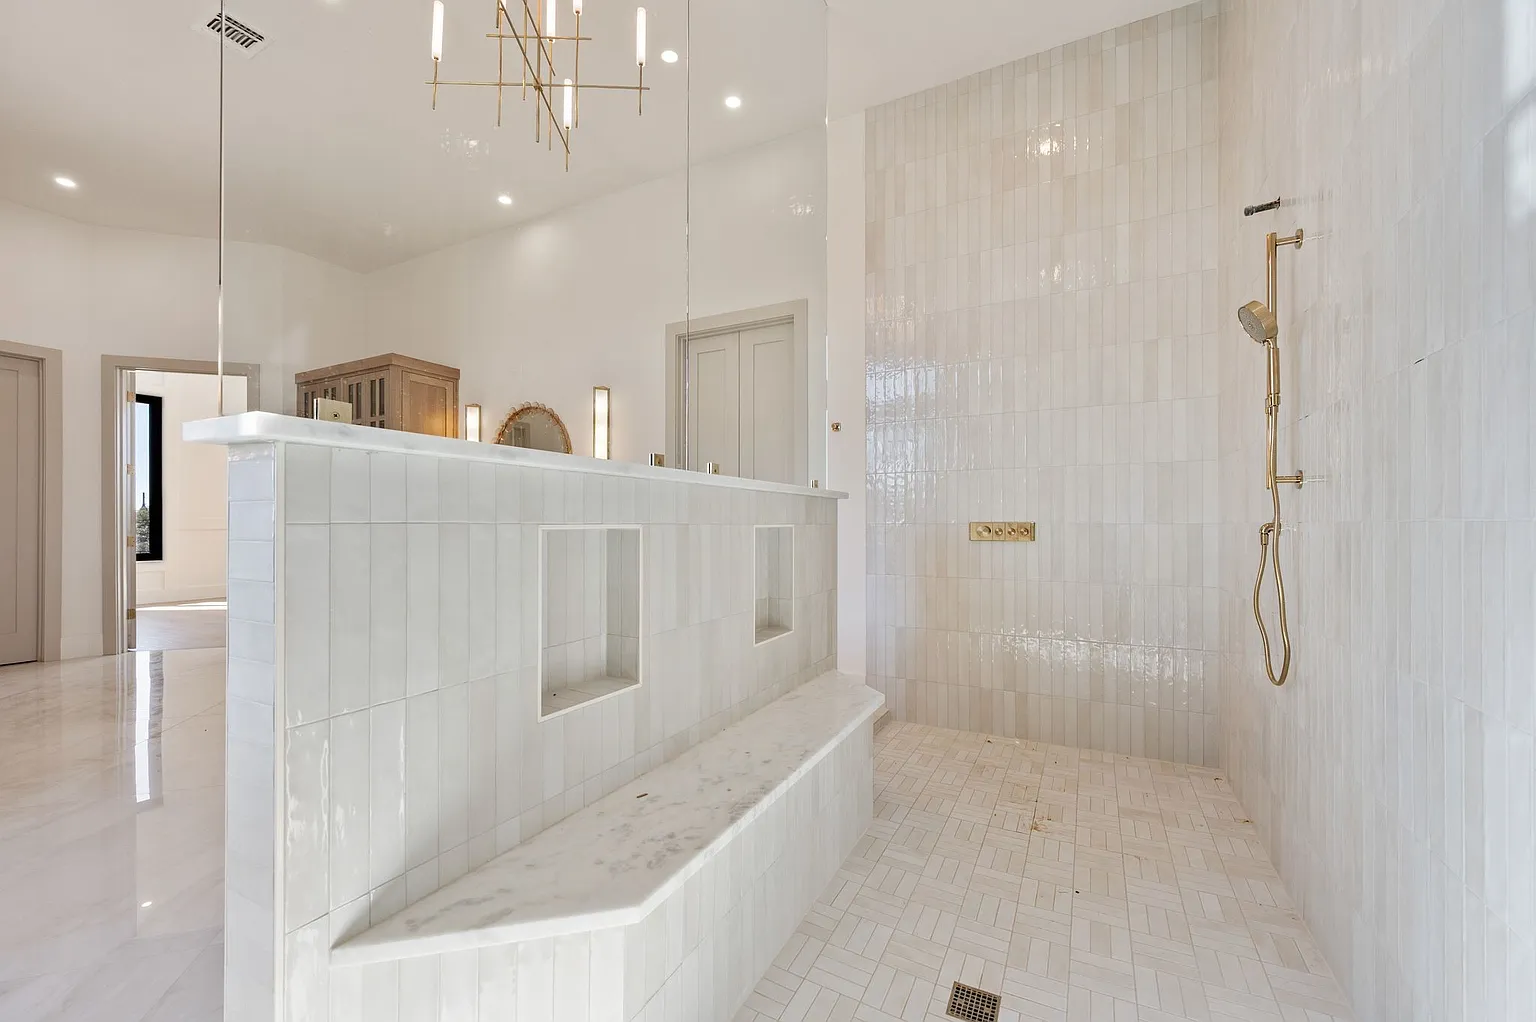
Most homeowners who want the clean, large-tile, curbless aesthetic choose a linear drain set against the back wall, because you can slope the whole floor in one direction with big tiles and minimal grout lines. A point drain is more economical and pairs well with mosaic floor tile, but the four-way slope shows more grout and a busier pattern.

With a curbless shower there’s no curb to catch a mistake, so the slope and waterproofing have to be perfect before a single tile goes down. We water-test every pan and inspect it mid-build, because that hidden layer is what you’re really paying for.— May N. · Co-Founder, UHS Remodeling
§ 03How do you slope and waterproof a curbless shower so it doesn’t leak?
This is where a curbless shower lives or dies. There is no curb to act as a backstop, so the slope has to be correct and the waterproofing has to be flawless. Two things have to go right.
1. The slope and substrate. In a curbed shower the pan sits on top of the floor. In a curbless shower the pan area must be recessed below the surrounding floor so the finished tile lands flush. In most DFW homes built on a concrete slab, that means recessing the slab or building up the surrounding framing to create the drop. The pan is then sloped a minimum of about a quarter inch per foot toward the drain, usually with a pre-sloped foam tray or a mud bed.
2. The waterproofing membrane. A continuous waterproof layer goes over that sloped substrate. The two systems we use most are a Schluter-type bonded sheet membrane (a fabric-backed sheet that creates a fully waterproof, vapor-managed surface) and a RedGard-type liquid-applied membrane (a paint-on rubberized coating). Both work when installed to spec: sheet systems shine on large or complex curbless layouts, while liquid membranes flex easily around tricky niches and benches. The non-negotiable rule is that the waterproofing must extend well beyond the wet zone, up the walls, and tie into the drain flange so water has nowhere to escape.
Because there is no curb, we also slope the surrounding bathroom floor very slightly back toward the shower, and we always recommend a glass panel or generous shower length so spray doesn’t migrate across the room.
§ 04Glass or no glass on a curbless shower?
You have three sensible options. A fixed glass panel (a single “splash” panel with no door) is the most popular curbless choice in DFW: it keeps water contained, looks open and airy, and is easy to clean. A full frameless enclosure gives the most spray control and is worth it in smaller bathrooms. A true open wet room with no glass works only when the shower is long enough and the slope is engineered to keep water away from the vanity and toilet. The less glass you use, the more your waterproofing and slope have to do, so open layouts demand the most precise build.
§ 05When does a curbless shower double as an accessible, aging-in-place upgrade?
This is one of the strongest reasons to go curbless. A zero-threshold entry means no step to trip over and no barrier for a walker, wheelchair, or shower chair, which is why curbless showers are a cornerstone of aging-in-place and accessible remodeling. To make a shower genuinely accessible rather than just curb-free, we plan for a roll-in clear width (typically 36 inches or more), in-wall blocking so grab bars can be added now or later, slip-resistant floor tile, a hand-held shower on a slide bar, and a built-in bench or fold-down seat. The best part is that these features read as high-end spa design, not medical equipment. If you are converting an existing tub or stall, our team handles this as a walk-in shower conversion in Plano and across the metro.
§ 06What does a curbless shower cost in DFW?
A curbless shower carries a premium over a standard curbed shower, mostly because of the added framing, recessing, slope work, and higher-grade waterproofing. As a rule of thumb in Dallas-Fort Worth, budget for the curbless build itself, then layer in your tile, glass, fixtures, and any layout changes.
| Project scope | What’s included | Typical DFW range |
|---|---|---|
| Shower-only curbless conversion | Recess/slope, waterproofing, linear or point drain, mid-grade tile, fixed glass panel | $12,000–$25,000 |
| Full bathroom remodel with curbless shower | New shower plus vanity, flooring, toilet, lighting, finishes | $25,000–$45,000+ |
| Luxury / large primary bath, wet-room style | Slab tile, frameless or open layout, premium fixtures, custom features | $45,000–$60,000 |
These align with our broader DFW bath pricing, where projects generally run from roughly $8,000 on the simplest end up to $60,000 for high-end primary suites. For a deeper breakdown by line item, see our full guide to bathroom remodel cost in Dallas. Every UHS Remodeling project is built on a fixed-price contract and backed by our 1-year workmanship warranty, so the waterproofing and slope work that matter most are covered, not estimated and hoped for.
Curbless Shower Planning Checklist
§ 07What about permits and process in DFW?
Most curbless remodels in DFW involve plumbing work (relocating or resetting the drain) and sometimes minor framing, so your city typically requires a permit and inspection. UHS Remodeling is fully insured, pulls all required permits, and uses licensed trades for plumbing and electrical, so the recessed pan and waterproofing get inspected before tile ever goes down. A shower-focused project usually runs about three to five weeks: design and selections, demo, framing and plumbing rough-in, waterproofing and a water test, tile, then glass and fixtures. That mid-build water test is the single most important step in a curbless shower, and it is one we never skip.
§ Q&AFrequently asked questions.
Planning a walk-in shower? Let us design it watertight.
Fully insured · 500+ verified five-star reviews · fixed-price contracts · 1-year workmanship warranty.
May N.
Co-Founder and design lead at UHS Remodeling, a Plano-based DFW design-build firm. She has helped guide kitchen, bath, and whole-home projects across the metroplex since 2014.
UHS Remodeling brings over a decade of experience to remodeling across 21 DFW communities, on fixed-price contracts backed by a 1-year workmanship warranty.